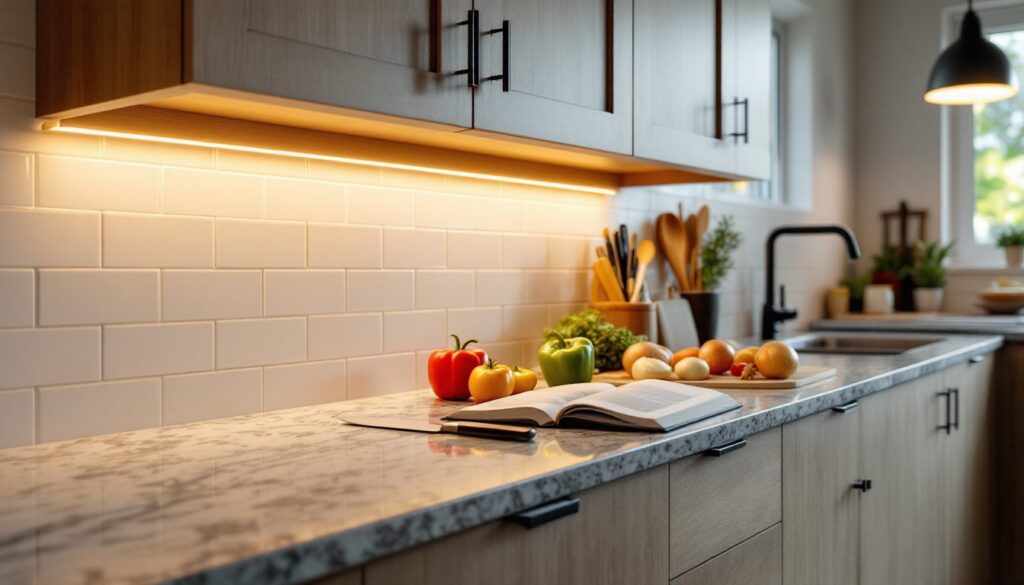
Installing LED strip lights under cabinets is one of the smartest upgrades a homeowner can make. It transforms dark countertops into functional workspaces, adds ambiance for evening entertaining, and costs a fraction of what traditional under-cabinet fixtures run. Whether someone’s remodeling a dated kitchen or just wants better task lighting for meal prep, LED strips deliver professional results without requiring an electrician for most installations. This guide walks through everything needed to choose, install, and maintain LED strip under-cabinet lighting, from understanding color temperature to avoiding the common pitfalls that trip up first-timers.
Table of Contents
ToggleKey Takeaways
- LED strip under-cabinet lighting transforms dark countertops into functional task spaces while consuming only 24 watts for a 16-foot run, delivering energy savings that amount to pennies per month.
- Brightness should range from 200–400 lumens per foot for task lighting, while color temperature (2700K–3000K for warm white, 5000K+ for daylight) and CRI of 90+ significantly impact how food and countertops appear under the lights.
- Proper surface preparation using isopropyl alcohol and correct strip placement 1.5–2 inches back from the cabinet face are essential to avoid adhesion failure and ensure eye-comfortable illumination.
- Plug-in LED strip kits install in under an hour with basic tools and require no electrical work, while hardwired systems offer a cleaner look but may need professional installation and permits.
- Common installation mistakes like cutting strips outside designated cut points, using mismatched power supplies, and poor heat dissipation can damage LEDs or reduce their lifespan significantly.
- Regular maintenance—including dust removal every few months, checking connector integrity, and choosing high-CRI strips from reputable brands—keeps LED strip under-cabinet lighting bright and reliable for years.
Why LED Strip Lights Are Perfect for Under Cabinet Lighting
LED strips check every box for under-cabinet applications. They’re thin, usually 3/8 inch or less, so they tuck up under the cabinet lip without protruding into sight lines. Heat output is minimal compared to older puck lights or fluorescent bars, which matters when mounting near wood cabinets or stored food items.
Energy efficiency is another major advantage. A typical 16-foot LED strip draws around 24 watts while producing the equivalent light of a 100-watt incandescent bulb. That translates to pennies per month in electricity costs, even if the lights stay on for hours.
Flexibility is the real game-changer. LED strips conform to corners, wrap around cabinet edges, and cut to exact lengths at designated cut points (usually every 2 to 4 inches). Installation options range from simple plug-in kits with adhesive backing to hardwired runs that integrate with existing wall switches. The variety means nearly any kitchen layout can accommodate them without major electrical work.
Choosing the Right LED Strip Lights for Your Cabinets
Not all LED strips are created equal. The right choice depends on the kitchen’s color scheme, the tasks performed on those countertops, and how the space is used after dark.
Brightness is measured in lumens per foot. For task lighting, cutting vegetables, reading recipes, aim for 200 to 400 lumens per foot. Ambient or accent lighting can get by with 100 to 200 lumens per foot. Many kits list total lumens for the entire strip, so divide by the strip length to find lumens per foot.
Color temperature determines the light’s warmth or coolness. It’s measured in Kelvin (K). 2700K to 3000K produces a warm white similar to incandescent bulbs, which works well in traditional kitchens or spaces where coziness matters. 3500K to 4000K offers neutral white that complements most modern cabinetry without skewing too yellow or blue. 5000K and above gives a crisp, daylight white preferred for task-heavy environments but can feel sterile in a residential kitchen.
CRI (Color Rendering Index) measures how accurately colors appear under the light. A CRI of 80 or higher is acceptable for general use, but 90+ is ideal for kitchens where food color matters, nobody wants their tomatoes looking gray. High-CRI strips cost slightly more but make a noticeable difference in how countertops, backsplashes, and ingredients look.
Brightness, Color Temperature, and CRI Explained
Think of brightness as the quantity of light, color temperature as the mood, and CRI as the quality. A strip can be plenty bright but still render colors poorly if the CRI is low. Similarly, a high-CRI strip set to 5000K might make a cozy kitchen feel like a lab.
When shopping, look for strips labeled “high-density” if even, shadow-free lighting is the goal. These pack more LEDs per foot (usually 60 or more) compared to standard-density strips (30 to 40 LEDs per foot). The tighter LED spacing reduces the “hot spot” effect where individual diodes are visible.
Dimmable strips add flexibility. Pair them with a compatible dimmer switch or remote, and the lighting adjusts from full task brightness during cooking to a soft glow for late-night snacking. Not all LED strips dim smoothly, though, cheap models may flicker or drop out at low settings. Check reviews or product specs for phrases like “smooth dimming” or “10% to 100% range.”
Step-by-Step Installation Guide for LED Strip Under Cabinet Lighting
Most plug-in LED strip kits install in under an hour with basic tools. Hardwired setups take longer and may require an electrician if new circuits are involved. Here’s the process for a typical plug-in installation:
Materials needed:
- LED strip light kit (includes strips, power supply, connectors)
- Isopropyl alcohol and clean cloth
- Measuring tape
- Sharp scissors (for cutting strips at designated points)
- Wire clips or adhesive cable channels (optional, for managing wires)
Tools needed:
- None for most plug-in kits
- Wire strippers, voltage tester, screwdriver for hardwired installs
Step-by-step:
-
Measure the cabinet runs. Use a measuring tape to determine the linear feet of each cabinet section. Add 10% for corners and waste. Most kitchens need one continuous run per cabinet section, with corners handled by flexible connectors or soldered joints.
-
Clean the mounting surface. Wipe the underside of the cabinet with isopropyl alcohol to remove grease, dust, and old adhesive. The cleaner the surface, the better the adhesive backing will hold. Let it dry completely.
-
Plan the strip layout. Position strips toward the front edge of the cabinet, about 2 inches back from the face frame, to illuminate the countertop without spilling light into the user’s eyes. For cabinets deeper than 12 inches, consider two parallel strips for even coverage.
-
Cut strips to length (if needed). Most strips have marked cut points every few inches. Use sharp scissors and cut only at these designated spots, or the strip won’t work beyond the cut. If the kit includes connectors, attach them to join multiple sections.
-
Peel and stick. Remove a few inches of adhesive backing at a time and press the strip firmly into place. Work slowly to avoid crooked alignment, once the adhesive contacts, repositioning is tough. If working with low ceiling kitchen designs, ensure the strips don’t create harsh downward glare by angling them slightly back.
-
Route the power cable. Run the low-voltage cable along the back of cabinets or inside a cabinet to hide it from view. Use adhesive cable clips or a plastic channel to keep it tidy. The power supply plugs into a standard 120V outlet, ideally one inside a cabinet or behind an appliance.
-
Test the installation. Plug in the power supply and switch on the lights. Check for even brightness and any dead sections. If a section doesn’t light, check connections and confirm the strip wasn’t cut in the wrong spot.
For projects requiring more detailed tutorials, Instructables offers community-submitted guides covering variations like RGB strips, motion sensors, and smart home integration.
Safety notes: Always wear safety glasses when cutting or stripping wires. For hardwired installs, turn off power at the breaker and use a voltage tester to confirm circuits are dead before touching any wires. Low-voltage LED strips (12V or 24V) are safer than line-voltage alternatives, but the transformer still plugs into 120V mains.
Hardwired vs. Plug-In: Which Power Option Is Best?
Plug-in kits are the go-to for renters, quick upgrades, or kitchens without accessible wiring. They require no electrical work beyond finding an outlet. The downside? Visible cords and a power supply brick that takes up outlet space. They’re also limited by cord length, usually 6 feet, so the outlet needs to be nearby.
Hardwired systems integrate with the home’s electrical system, typically controlled by a wall switch or dimmer. They look cleaner because there are no plugs or transformers in sight. But, they require either an existing switched circuit (like an old under-cabinet fluorescent) or running new wire, which means opening walls or fishing cable through cabinets.
If an existing under-cabinet light is already in place, swapping it for a hardwired LED strip is straightforward. The old fixture’s wiring connects to a new LED-compatible driver (essentially a transformer), which then feeds the low-voltage strip. Experienced DIYers can handle this, but if there’s any doubt about working with 120V wiring, or if the jurisdiction requires it, hire a licensed electrician. Most areas require a permit for new circuit work, though replacing a fixture on an existing circuit usually doesn’t.
Hybrid options exist: plug-in strips with a hardwired power supply. The transformer mounts inside a cabinet and connects to house power, while the LED strips plug into the transformer. This hides the power supply and eliminates the outlet problem but still involves some wiring.
For those exploring broader kitchen lighting strategies, reviews of popular under-cabinet lighting products and professional assessments like Bob Vila’s tested options provide useful context on performance and reliability.
Common Mistakes to Avoid When Installing LED Strips
Skipping surface prep tops the list. Adhesive backing won’t stick to dusty, oily, or rough surfaces. Even factory-finished cabinets can have a layer of cooking grease. A quick wipe with isopropyl alcohol solves this.
Poor strip placement is another frequent error. Mounting strips too far back leaves the front edge of the counter dim. Too far forward, and the LEDs shine directly into the user’s eyes. The sweet spot is usually 1.5 to 2 inches back from the cabinet face, angled slightly toward the backsplash if the mounting surface allows.
Cutting strips in the wrong place ruins sections. LEDs are wired in series along the strip with cut points marked every few inches. Cutting anywhere else breaks the circuit. If an exact length is needed and a cut point doesn’t align, it’s better to leave a little extra and tuck it out of sight.
Using the wrong power supply causes flickering or early failure. Every LED strip has a specified voltage (12V or 24V) and wattage. The power supply must match the voltage and provide at least the total wattage of all connected strips. Underpowering causes dim output and shortens LED lifespan. Overpowering by voltage (e.g., a 24V supply on a 12V strip) will fry the LEDs instantly.
Ignoring heat dissipation can reduce LED life. While LED strips run cool compared to other lighting, they still generate heat. Mounting them directly to metal or using aluminum channels helps dissipate heat, especially for high-output strips. Enclosing strips in tight spaces without ventilation traps heat and accelerates degradation.
Forgetting about corners trips up first-timers. Most adhesive-backed strips don’t bend around tight 90-degree corners without kinking. Use flexible corner connectors, solderable jumper wires, or cut and reconnect at corners. Some high-end strips offer bendable PCBs designed for corners, but they cost more.
Maintenance and Troubleshooting Tips
LED strips require minimal upkeep, but a little attention keeps them running bright for years.
Cleaning: Dust and grease buildup dims output over time. Wipe strips with a dry microfiber cloth every few months. For stubborn grease, lightly dampen the cloth with water, never spray liquid directly on the strip. Ensure power is off before cleaning.
Adhesive failure: If a section peels away, clean the area again and use double-sided foam tape or small dabs of clear silicone adhesive to reattach it. Heavy-duty double-sided tape rated for permanent mounting works better than the stock adhesive on many budget strips.
Flickering or dimming: Check connections first. Loose or corroded connectors are common culprits. If the problem persists, test the power supply with a multimeter to confirm it’s delivering the correct voltage. Power supplies do fail, especially cheaper units.
Partial or dead sections: If part of a strip is dark, the issue is likely a bad solder joint or a cut made outside a designated cut point. LEDs rarely fail individually, if one section is out, the circuit is broken. This usually means replacing that strip segment.
Color shift over time: LEDs can shift slightly in color temperature after thousands of hours, especially lower-quality chips. High-CRI strips with reputable brand LEDs (Samsung, Nichia, Cree) resist this better. If color consistency matters, say, for smaller kitchen layouts where uneven lighting is more noticeable, invest in quality strips upfront.
Dimmer compatibility: Not all dimmers work with LED drivers. If a newly installed dimmer causes buzzing, flickering, or limited range, it’s likely incompatible. Look for dimmers labeled “LED-compatible” or “ELV (electronic low voltage).” Magnetic low-voltage (MLV) dimmers won’t work with most LED drivers.
Warranty and replacement: Many LED strip kits include warranties ranging from one to five years. Keep the receipt and product documentation. If a strip fails prematurely, manufacturers often replace it, especially if it’s a known brand.
Regular checks, once or twice a year, catch small issues before they become bigger problems. A quick visual inspection for loose strips, a wipe-down, and a connection check take five minutes and extend the life of the installation significantly.

